I was lucky recently to try the Kase Filters ND filter set for the DJI Mavic 2 Pro (M2P) drone. I had had the idea of using my drone for some low level aerial shots of moving water for a while so when I saw they had started distributing them in the UK I got in touch. I’d like to point out that I have have not gained anything financial out of this test and it was only performed for my interest (For non-commercial reasons) in accordance with CAA regulations.
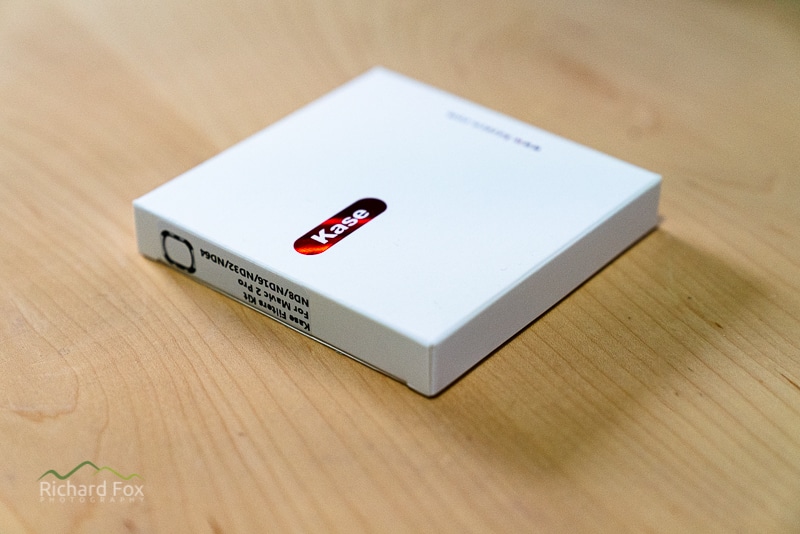
Kase DJI Mavic 2 Pro ND filter set
The kit comes in a standard glossy Kase box and protective plastic case. The DJI Mavic 2 Pro drone comes with a 20mpx sony Exmor sensor (with 12 stops of dynamic range) with Hasselblad 28mm F / 2.8 lens K. The ND-Kit Filter set consists of 4 ND filters for the DJI Mavic 2 Pro: ND8 (3 stops), ND16 (4 stops), ND32 (5 stops) and ND64 (6 stops). The filters have the same oil and water repellent coatings as their rectangular filters and circular filters I have already tested. They are built using their B270 optical glass with high color neutrality with 6063 aluminum frames for light weight and a stable structure.
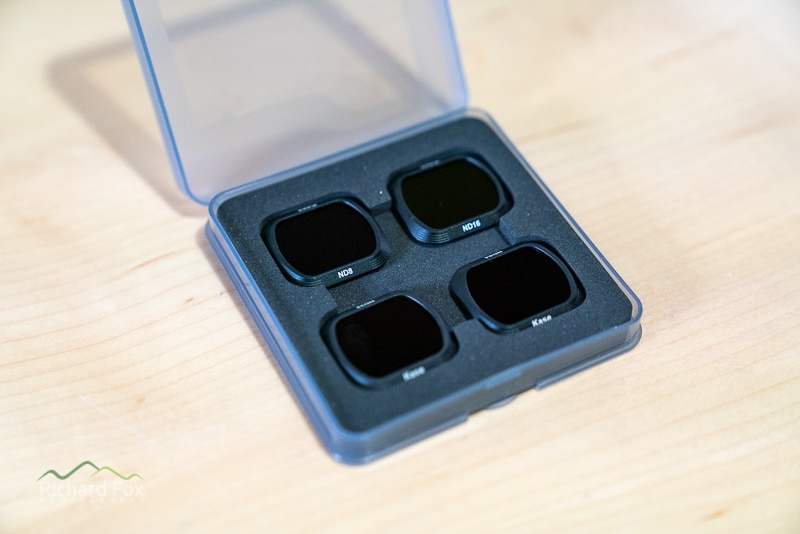
Kase DJI Mavic 2 Pro ND filter set
I have tested the neutrality of the Kase filtration before (3, 6 and 10 stops), it’s the same filtration used in the Graduated Filter Wolverine Series and has been rated by, On Landscape Magazine, as on of the most neutral graduated filter system they have tested.
The filters have an almost identical construction to the std glass protector on the front of the M2P. They don’t have much of an appreciable difference in weight either, as this would affect the gimble functionality. Removing the glass filter, using a 1/8 turn on the M2P, and then then swapping with the Kase NDs, is easy, although I would not do this in a dirty environment or in the wind, as it may contaminate the front element of the camera. As with any M2P filter, it’s going to be fiddly with cold hands and it might be worth getting some while cotton gloves to do it so you don’t put messy fingerprints on them or some lint free sensor cleaners if you do. Perhaps the kit could come with a method of easy fitting, with a clip n twist tool?
In Use
I have used these for a few months, on an off, and I think enough time to assess their functionality, quality and usability. It’s a pretty simple test to perform to be honest. Essentially you clip on the filter you feel is best for the light conditions you have. I had done some research on the likelihood of getting a crisp sharp image with minimum of movement blur. I basically discovered that those who had used a small non-commercial drone were achieving this with about 1 second shutter speeds. However this is totally dependent on the weather conditions. Thus if it is a very still day you might be able to push this to 2s. This also depends on the stability of the drone you are using and also the effectiveness of the gimble stabilisation. I have found the M2P gimble to be very stable even in low light at sunrise and sunset.
As you can hook up the ND filters onto the camera, and view it live via the DJI Go App / remote viewer, you can estimate what filtration you might need, before you launch. The drawback, unlike a camera on a tripod, is once fitted, you will have to return to home to swap them which takes time and battery life. I expect the more you use them the more intuitive it would become (you can also use an exposure calculator also if necessary to help you).
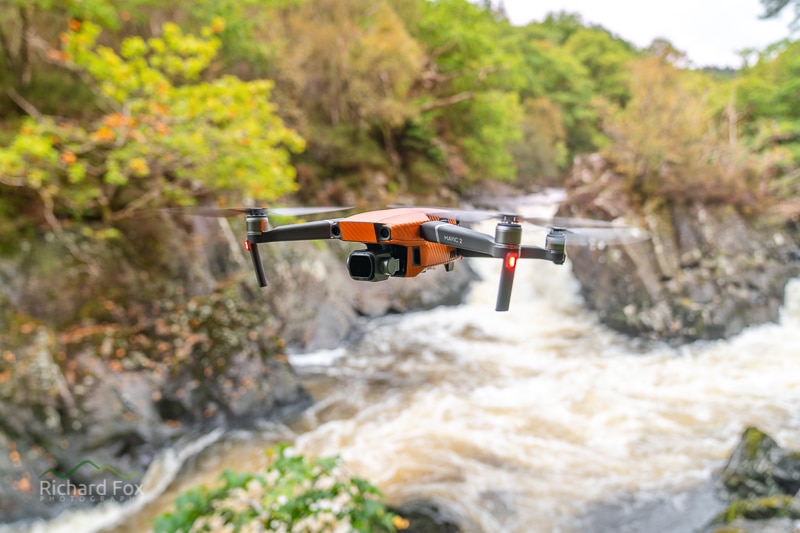
Mavic 2 Pro in flight over Lenny Falls, Callander, fitted with the Kase ND 32 Filter
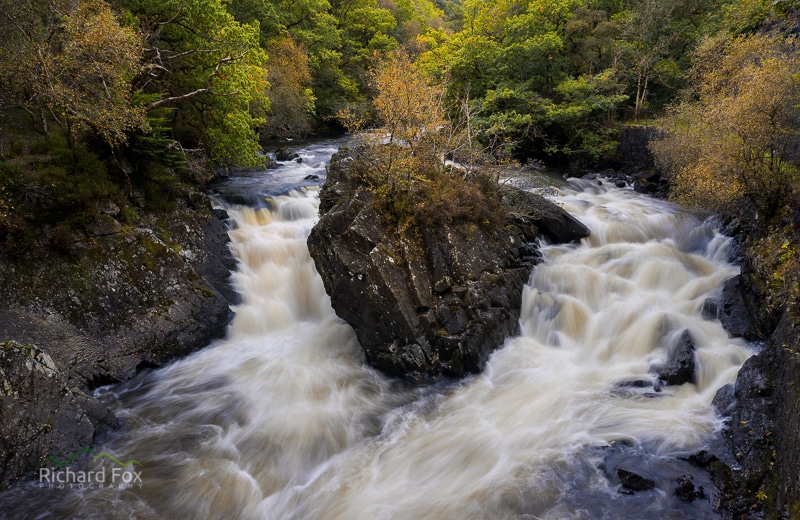
Pass of Leny, near Callander. Kase ND64 Mavic 2 Pro ND filter Mavic 2 Pro Drone 28mm 0.5s f/5.6 ISO 100
Essentially I was finding that in breezy conditions of about 10-20mph winds with gusts that 1s was really a maximum exposure length I could use with the M2P and filtration. In still conditions you can achieve a 2s exposure time but any more than that I think you would struggle to achieve a steady blur free shot.
The shots below are at 1s and 1.6s with the former test shot being relatively sharp (These were both 3 shot stitched vertical panoramas in post). It was a breezy evening at the Loup of Fintry of around 15-20mph with gusts. The M2P was in tripod mode and stable at the time of exposure, but there were updrafts from the falls below.
As with all of the Kase filters I have used and own, neutrality is excellent. I usually shoot stills on the M2P in automatic white balance and then tweak the RAWs in post. I didn’t find any significant cast and to be honest I would have been surprised. Anything under a 5 stop these days you would not expect it from a decent filter. I didn’t manage to test the flare resistance (direct sunlight) and to be honest unless you are shooting towards the sun in low light most of the time you are likely to be shooting in diffused cloudy conditions. However I did not see any noticeable difference (with the std glass cover) when shooting on the Isle of Harris.
Test Images
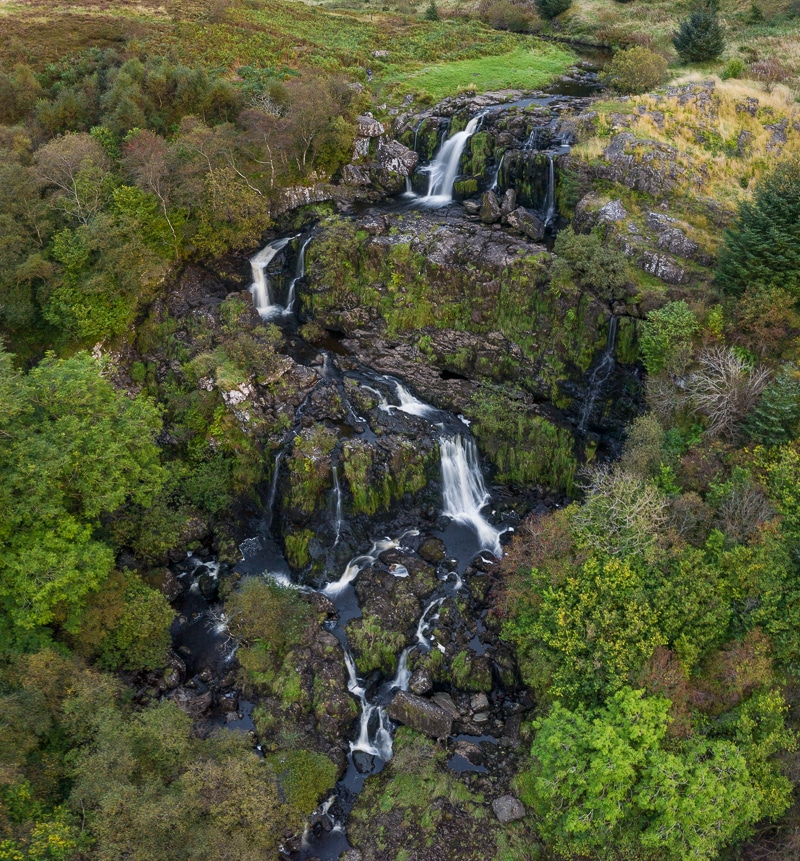
Loup of Fintry, ND32, 1s
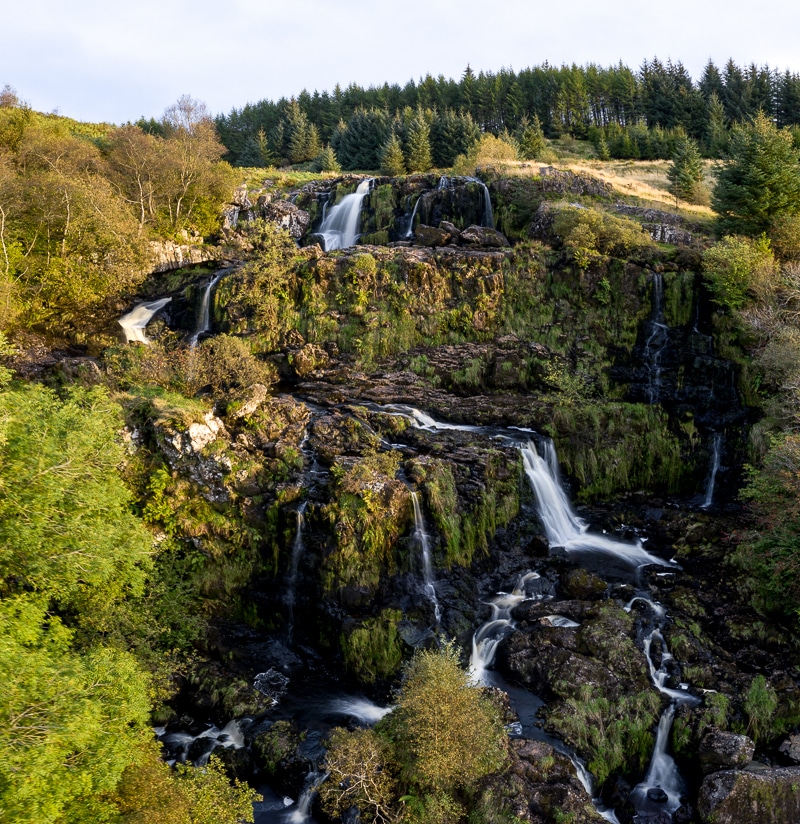
Loup of Fintry, ND32, 1.6s
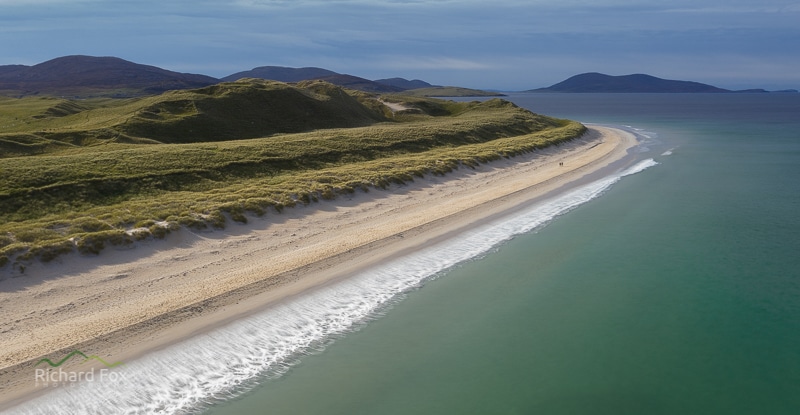
Luskentyre Beach, Kase ND64, 2s
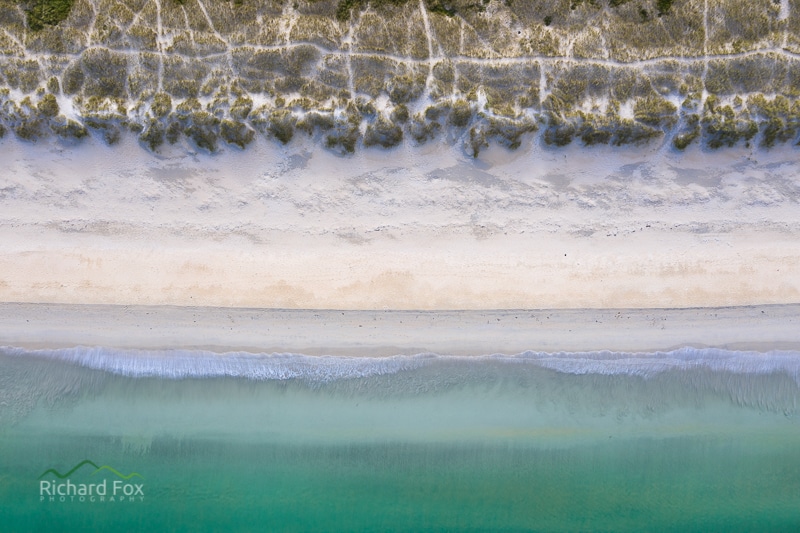
Luskentyre Beach, Kase ND64, 2s
Conclusions
This was a pretty simple test as they go. I wasn’t really testing the neutrality of the ND filters as they use the same glass and pigments as the rest of their filters and I’ve always found them to be good, and again here, I was more than happy. I was really testing their usefulness and the viability of owning a set.
The issue here is a balance between getting a sharp steady shot, suitable weather conditions, locations where you can use these filters (i.e. especially with drone regulations and proximity to people, trees, flowing water…) and getting the extended shutter speeds you need.
For movement blur on waterfalls for instance I rarely go above 1 second and lower for fast moving falls so for me these filters work well on the M2P for this genre. Where you want long exposures on choppy water, say at the coast, where you would use a 10 stop, then I think you may struggle to get the extended exposures stable enough (with a typical non-commercial drone). I guess you could also get light trails with them too as long as you abide by the CAA regulations of proximity to vehicles and properties (50m) etc. but the shutter speeds maybe too short.
I still feel that using a tripod, ND filter and dedicated camera gives you the best results of course, however there are places or angles you just can’t or would like to get to. Essentially this is why we use drones to capture video and photographs. Having a set of ND filters just allows you to be a bit more creative with a drone and I think if you can afford the purchase they are a good addition to have in your drone kit.
One warning thought about flying drones near fast running rivers. The Falls of Lenny were swollen and the wind currents 5m above water line and through the steep gullies was very noticeable. Several times the drone was being pushed downstream and the only way I could counteract this was to put it in sport mode and power up and forward to get out of this slipstream. Considering the trees around this could have been a crash situation. Every trip I took I made sure no one was around for this reason but in some areas waterfalls and other areas maybe very popular or not comly with CAA flying restrictions (we need to fly these things responsibly) so I think you need to select your locations carefully.
The cost of the system is £90 (RRP) for the 4 filters which is comparable to the majority of other systems out there for a 4 filter set. However other sets also include combined ND and polarisers. I feel Kase would benefit from producing combined polariser ND filters to go in the kit too as I always use polarisers with moving water to cut reflections and improve contrasts and I was kind of longing for this when capturing some of the shots above.
You can order them direct from Kase here: https://kasefilters.com/product/kase-mavic-2-pro-nd-kit
Disclaimer: I was not paid to write this article nor was I given the filters to keep. I returned the filters in the condition they were sent to me by Kase.


