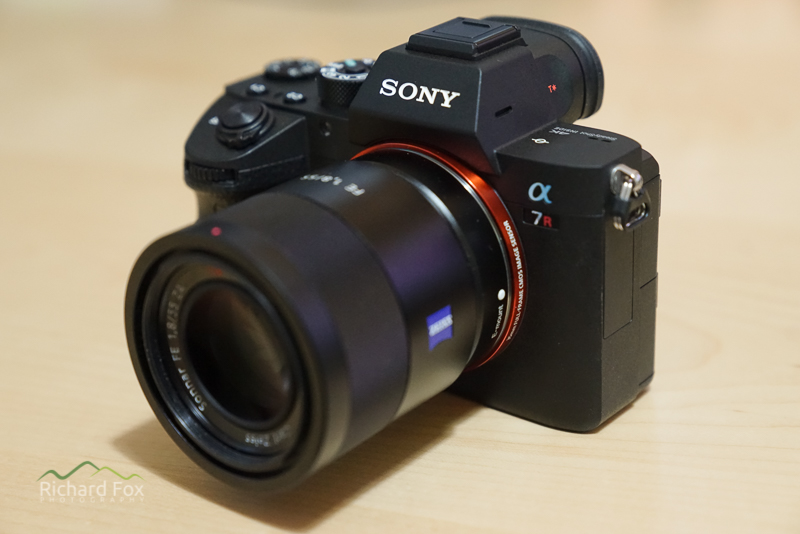
I acquired the latest A7R Mark III on release in December 2017. You might think ‘why didn’t he wait for the price to come down?’ or ‘he’s a landscape photographer why is he bothering?’. OK If you wait 6 months then it usually drops by 10% (of course you will always pay a premium for cutting edge tech in all walks of life). For me I thought the spec sheet was good enough to trade-in my a7r2 and upgrade to the a7r3.
I was going to write a full review of this camera but to be honest it was worth it for the a7r and a7r2 that I previously wrote reviews for but I thought, this new body is more of a step up than a jump. Therefore I’m going to highlight the main reasons why I wanted (with a bias towards landscape photography of course) to take the plunge. I have given myself a couple of months to find out it’s pros and cons over the mark I (which I still own) and the mark II.
I find many of the reviews which come out are completed within a few weeks, and in hindsight, I don’t think that is long enough to do a decent test. I have also taken it to Norway to test it in sub-zero temps too (worked quite happily at -25C). I thought I would lay this review out in order of which I think is the most significant for me, and also other improvements, fixes and any negative points.
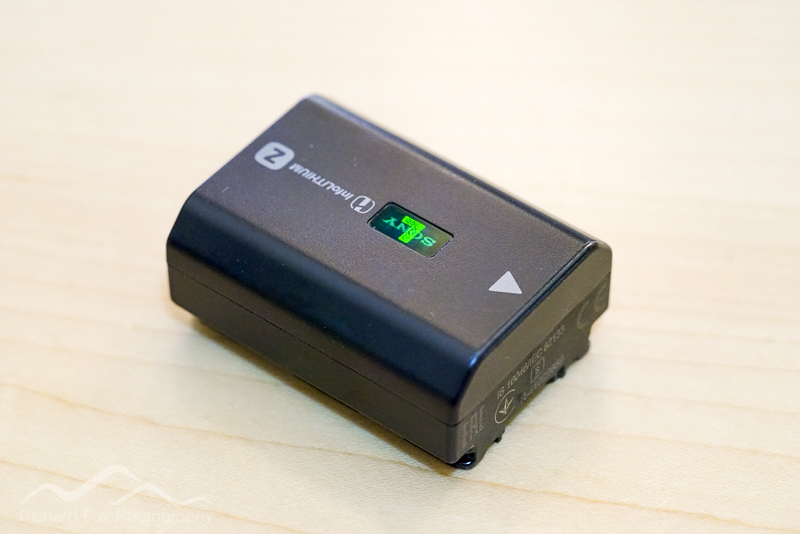
Like many new features on the a7r3 the battery has been borrowed from the A9 (ILCE-A9). It’s a typical Sony Info-lithium battery, with the L & R embedded hologram.
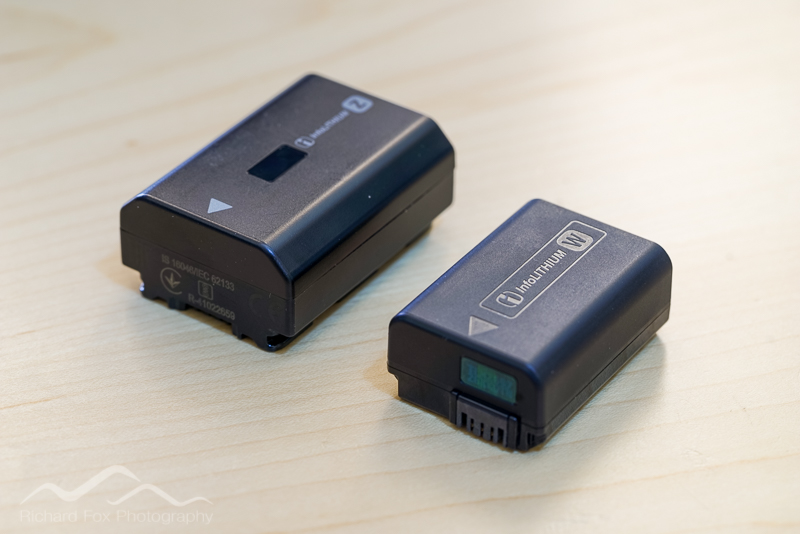
It’s the same voltage (7.2v) as the a7r and a7r2’s NP-WF50 but the capacity rockets up from 1100 mAh to 2280mAh. It’s grown in size and weight understandably, but it’s double the capacity (2.2x) but not quite double the size and weight (42.5 g vs 83g).
Because of this the grip is very slightly slightly bigger but in my opinion benefits those with larger hands. It’s amazing they have fitted this battery in such a small body.
It’s a massive step up. I never really found the NP-FW50 a hindrance but if your battery was not 100% charged at the beginning of the shoot then you might find yourself reaching for another towards the end. Not the end of the world in landscape photography but perhaps make or break in other commercial routes like sports and weddings.
I have to say I don’t think about battery life now. It’s like going back to the old DSLR days when I had my Canon 6D using the OVF (Live view however was another matter). I think this is the biggest change for me over the MK I or MK II. In the A7RII it is now rated for approximately 530 shots per charge with the EVF or 650 shots with the rear LCD.
However this is the CIPA testing (The Camera and Imaging Products Association) which cycles the camera through a boot, shot, and shutdown. This is not real world usage. I used to get at least 700 shots using live view from the a7r2 and now I get probably 1500 shots in the a7r3. If you put the old a7r into time-lapse mode for instance I could easily get 1000 RAW shots on a single battery with at least 30% left. I now carry 1 spare battery instead of 4.
OK so a joystick, joy pad, thumb pad (whatever you want to describe it as) is not really that useful in landscape photography? Well if you use auto focus it is. This saves you having to go back into the menu system to select the AF point, then move it with the less than ideal selector dial, in the old a7rII.
If you are like me and also try your hand at some action or wildlife on occasions it is also a nice addition. You can also use it to cycle through menu functions and also in play modes for instance.
This camera now becomes very usable as an all-rounder rather than maybe a good multi-niche high resolution camera. Perhaps a direct competitor to the Canon 5DIV and the Nikon D850.
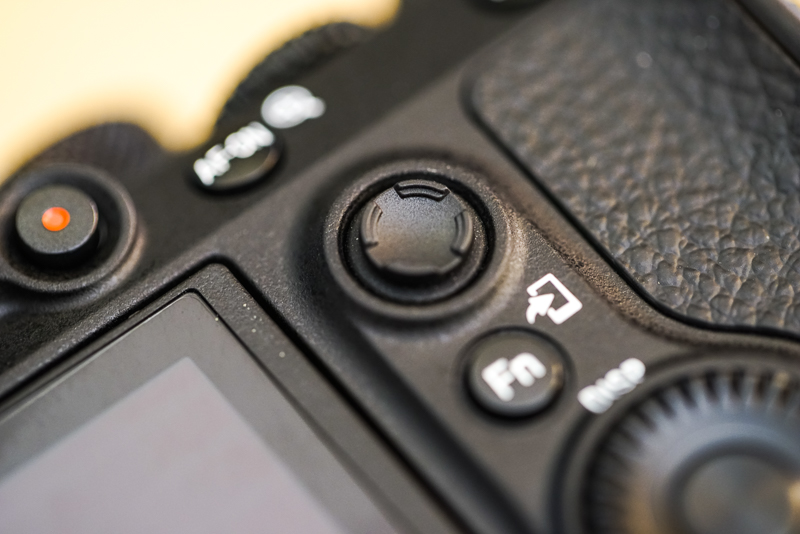
The controls, switches and buttons have also had the A9 upgrades. The selector wheel is much more positive, less easy to knock (given the small body size) and the custom buttons more firm to the touch. The movie button has finally been moved to the side of the EVF too. We’ve lost the silly jpeg pano function, scene sector and replaced with the S & Q function (Slow and quick motion movie controls (which is good for making quick in-camera time-lapses and slow-motion video) and finally we gain a 3rd permanent memory function!
This is a great idea I also had discussed with others should be implemented, given the ability of the sensor to shift with the IBIS from the a7r2. However for landscape photography, unless the whole scene is static, at resent with the Imaging software, there is too much ghosting to make it work in the field.
I can see why Sony wanted to keep the processing outside the camera, so you get much more control over the end product unlike others. However when the software that stacks the image (Image Edge) is rudimentary and won’t work well with a lot of movement, then I don’t feel it’s very usable at present. Where the scene is static like macros, architecture and still life then yes. Adobe Lightroom and Capture one are unable to handle the stacking and processing at present (although there is third party app available now called Pixelshift2DNG which looks promising).
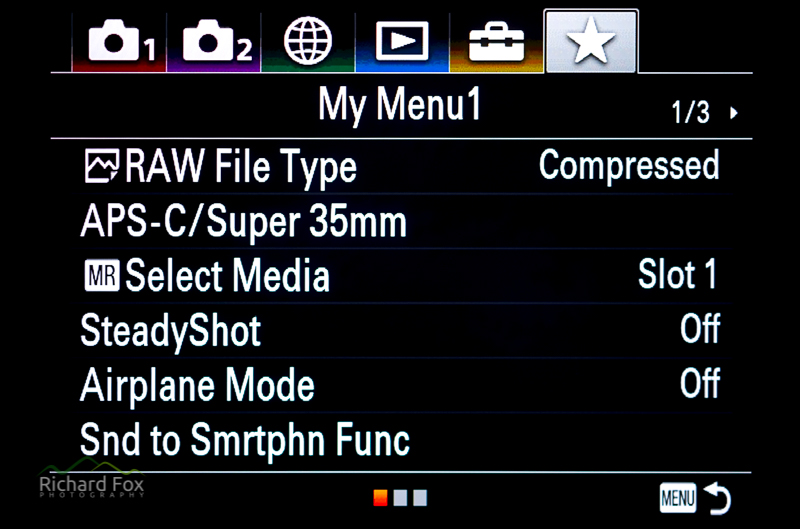
The A7R Mark III has inherited the A9 menu system (and A99II) and is colour coded and much more organised. It also now includes a new menu area called My Menu when you can add any of the menu items in one place and also move them around. Very useful for those setting syou use a lot but maybe, being senile like me, you can’t remember where they are.
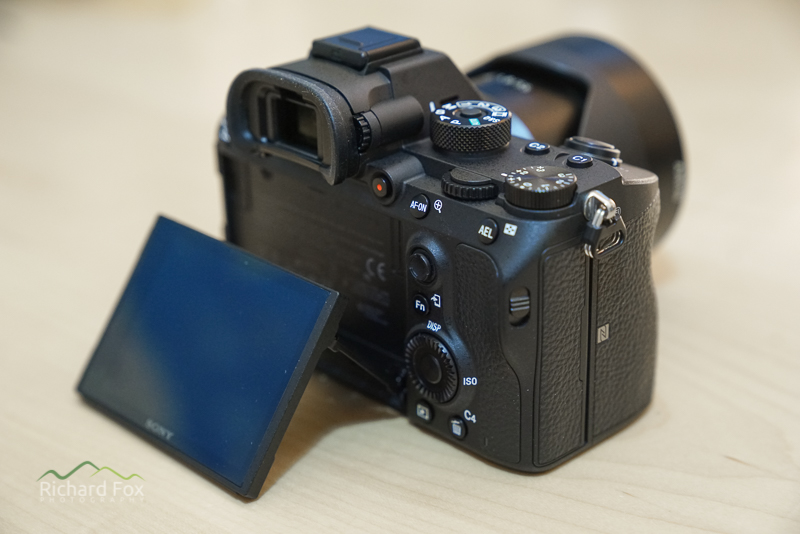
This is one of those additions that really should have been present in the Mark II. The proximity sensor in the housing of the EVF, when set to automatically switch between the LCD and EVF (to save battery power), repeatedly switched the LCD off. This was apparent when standing too close to the camera or if any water got onto the proximity sensor. Thankfully by puling the LCD out slightly, disables the auto switch without having to setup a custom button or go into the menu setting or clean off the sensor.
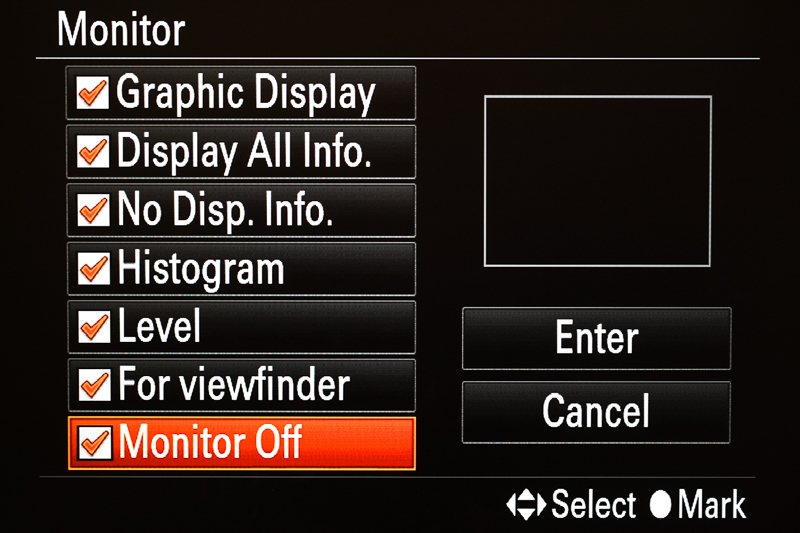
Again this is another addition that is welcomed for those who shoot astro or time-lapse for instance. The Mark II used to do a half-hearted attempt as this via a customised button affair but it did not power the LCD down, only blackout the screen. This function is now available also as a custom button or, not readily discussed in other reviews I have read, via the scroll wheel.
The function has to be enabled in the LCD (monitor) display settings but cycling through passed the histogram, level, info windows etc. You also have one which disables the power to the LCD. By cycling back through the overlays you turn the LCD is back on.
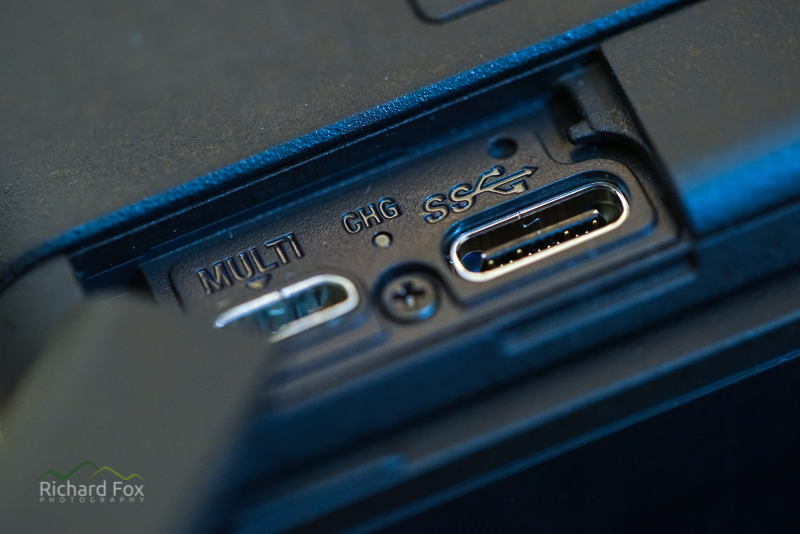
With the addition to the the multi/micro USB 2.0 connector there is also a new USB-C (USB 3.1) interface. This allows for fast tethering and fast file download, if you don’t have a USB 3 based card reader.
However both are charging ports, so finally if you are using an external trigger (in the USB 2.0 / multiport) you can now recharge or essentially power the body with an external USB battery plugged into the USB 3.1 port! Great for time-lapse but obviously you have to be careful about water proofing. However if you use a wired trigger then you are in the same boat anyway.
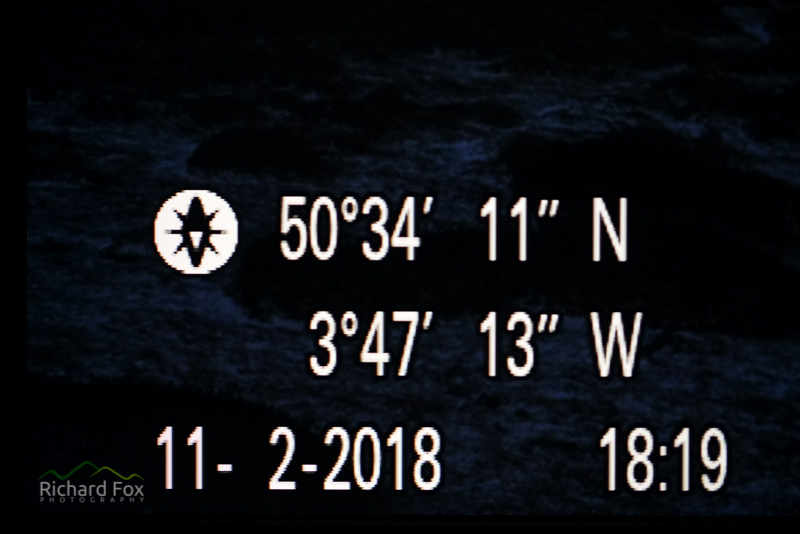
A pretty simple feature but one that was missing in the Mark I and Mark II. Sure most of the time we know where we are but if you are on a trip away and stumble upon a great location or are on a photo tour then you might not. I didn’t think this would be very useful but a recent trip to the Lofoten Islands it was invaluable when I got home to use the location map in Adobe Lightroom to find out where we had taken a spur of the moment shot.
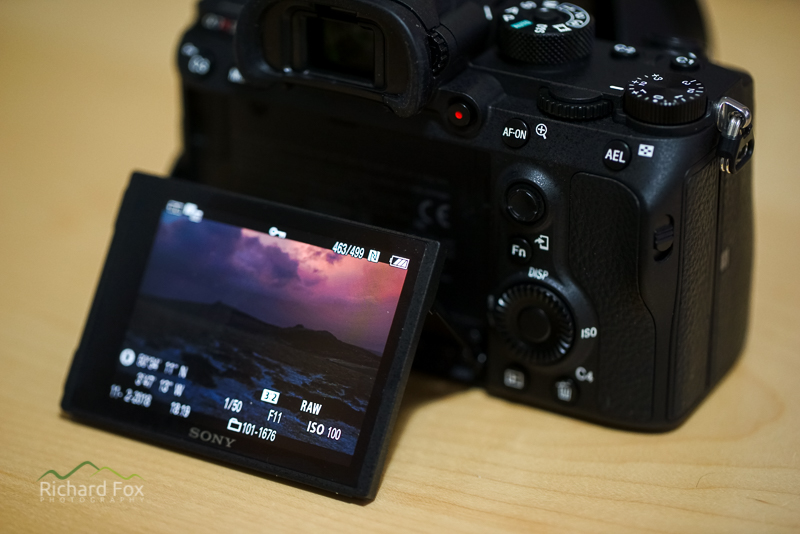
It’s easy to switch on the GPS location pairing in the menu. You need to have airplane mode off and Bluetooth on and then using the playmemories app on your smartphone you pair it. When the camera is switched on it connects via Bluetooth (I presume low power Bluetooth as it doesn’t seem to drain the battery at all (unlike with airplane mode off on the Mark II)). It then tags your images with the location in lat and long and this shows on the display during shooting and also in playback mode.
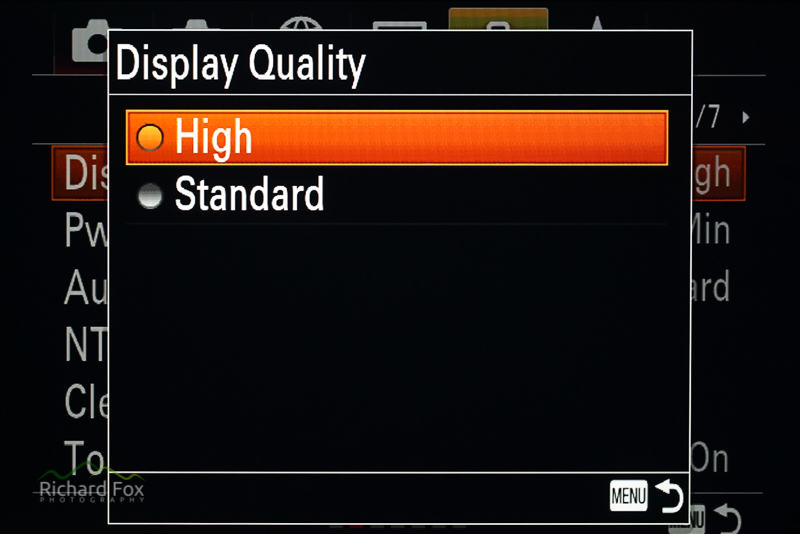
The first thing I noticed when I powered up the Mark III was how different the LCD and EVF look. They seem crisper and with better colours than the predecessors and it has again inherited the EVF and LCD from the A9. The A7R III’s EVF is now 3686k-
There are also inclusion of two menu settings – one is to select improved image quality of the LCD leading to a crisper image than the A7R Mark II and also improved refresh rates (Finder Frame Rate , HI or STD) of the EVF. Both of these are are a nice touch, the latter especially in low light settings with the EVF.

To cut a long story short, and not to go over the ground of myriad reviews, blogs, forum arguments etc. I personally have found some improvement in noise control, spacial filtering in astrophotography, and a small noticeable improvement in dynamic range.
This is not a reason to upgrade on it’s own. It’s the same technology as in the Mark II except for the LSI and Bionz X image processor, which it has acquired from the Sony A9 (1.8x the speed of the Mark II’s Bionz X). This means that the there is less noise from the same signal and so they have squeezed and extra 0.5 stops or so of dynamic range (compared with the uncompressed A7R Mark II’s output).
I have noticed this in processing. Single shots I thought would have clipped (say from a bracket sequence) I can now process from one shot instead of using Adobe Lightroom’s HDR DNG function or exposure blend in Photoshop). I seem to see more highlight retention and less clipping in the highlights. When pushing the exposure from underexposed image (to protect the highlights) I find a bit more detail in the shadows and less noise ans also less of the green bias that the Exmor BSI sensor outputs. The colours seem much more natural also in the jpeg shots it would seem too (reports suggest the clour processing has been improved).
The megapixels remain the same and for most 42 mpx is more than enough.
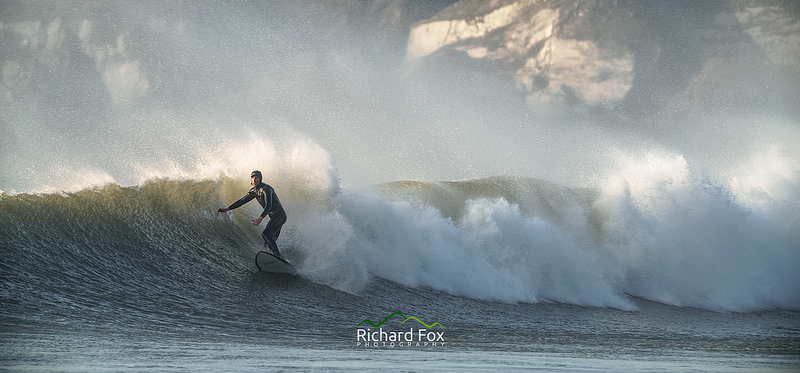
The shot above was hand held and shot at 1/200s at 100mm. OK we are not that close to a recommended limit of 1/focal but with the IBIS on it was extremely sharp (as I forgot to switch on the lens based IS (my hands were freezing)). The A7R Mark II has a rating of 5 stops of stabilisation and the Mark III has 5.5 so were not talking about a huge improvement but an improvement none-the-less. However it’s certainly been great hand holding long focal length shots of moving objects over the last few months (although the 100-400 GM’s IS is great anyway). Again also very good if you have non-IS legacy or prime lenses.
In a nutshell the mark III can captures 14-bit (uncompressed) RAWs in every mode now unlike the Mark II that was unable to do it in most capture modes except single shot and electronic first curtain and a few more. So when using continuous bracketing for landscape they will all be 14 bit (if this really makes a massive difference when you are blending exposures).
Shooting up to 10 frames a second is not really a feature for a landscaper but if you are like me and try your hand at action sports, aircraft or wildlife on occasions is a fantastic addition especially with the bigger buffer size.
The Mark III can also can shoot 79 of its 14-bit, uncompressed RAW in a row (with a fast SDHC UHS II card in slot 1) and therefore the buffer is not going to fill up very fast if you are multi-exposure bracketing large panoramas.
The display also give you the state of the buffer with regards to how many still need to be cleared.
This is a welcome addition. For me personally I always back up my images after a shoot but if you are a professional that requires real time backups or splitting of media to two different cards then this has finally been solved. There is a UHS I and a UHS II slot but it is suggested that the inclusion of the UHS I slot was for backward compatibility.
I have a couple of UHS II cards so it’s nice to be able to use them at their maximum read and write speeds for rapid frame rates and video.

For a landscaper this will be of less interest unless you use auto-focus in your workflow but now you can use metering on your AF point too so that can be useful.
The touch screen is a welcome addition and it turns off when you use the EVF. However a full touchscreen implementation to allow the changing of the menus would have been good. You can touch focus and touch spot exposure and also link both together so you have full control.
Incidentally zooming to check to fine focus now works in AF and MF modes. There are more AF points than you can shake a stick at (autofocus contrast detection points from rise from 25 to 425 and it has 399 phase–detection points).
However it’s refreshing to use a camera with a very capable AF system on a par with my old DSLRs. I now feel I have a camera which will pretty much to anything I want. Tracking moving objects with my Sony 100-400 GM lens is fantastic I have to say and a step up from the Mark II. It will continuous auto focus at f11 with the Sony 2x Teleconvertor on the 100-400 GM (at 800mm) easily.
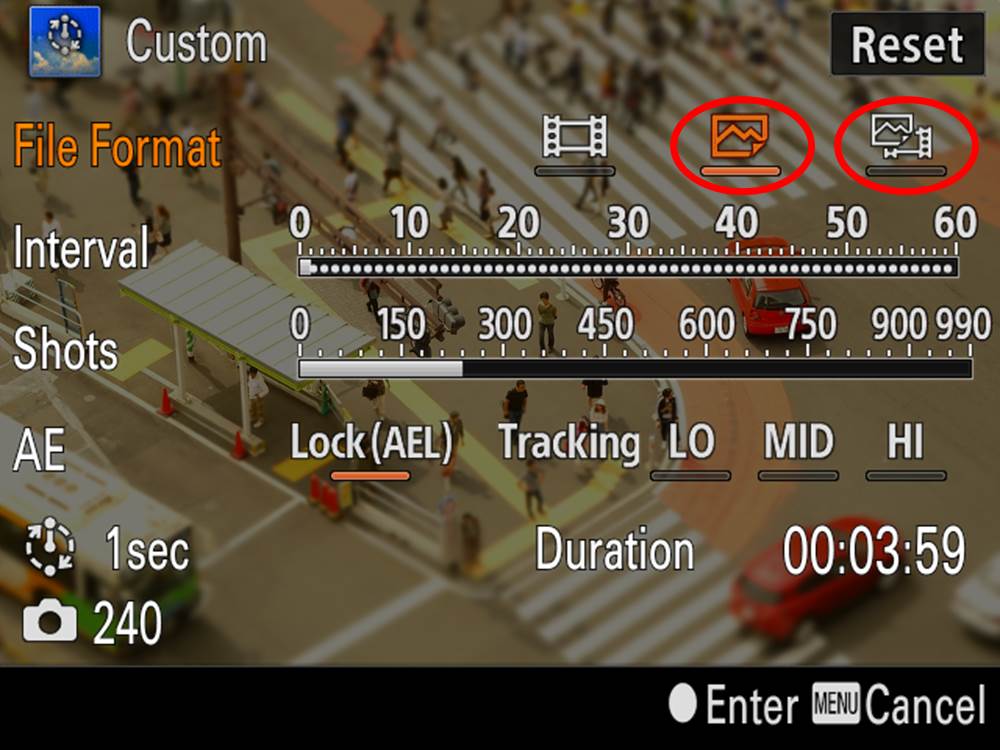
OK so some of the apps were of limited value but several apps were pretty good like the time-lapse app. I used this quite a bit as it means you don’t have to use an external intervalometer. The new Canon and Nikon cameras, to name but a few, all have them now and with the A7R Mark II dropping the in-camera platform were are left having to use an external trigger.
I do hope that the Sony Playmemories mobile app (iOS and Android) will be used to add this functionality as the remote function is now burned into the Mark III’s firmware. However in upgrading the remote API the 3rd party time-lapse apps for Android won’t work at present unlike the A7R Mark I and II.
We can only presume it is to stop unuathorised access to the firmware / security risk from hackers or people wanting to circumvent the firmware restrictions perhaps like Magic Lantern (which I can understand but also this often brings many advantages to their users).
A few things I would have liked to have seen in the Mark III:
A full rotating flip screen would have been nice for portrait orientated shoots but I guess the body wold have to be thicker to accommodate a beefier hinge mechanism.
The bottom battery flap still has to be removed for the battery grip… but at least it is much easier to remove than the Mark II.
Sealing – I personally have not had a problem with water ingress with the Mark III or the Mark II. I use mine in bad weather, but generally when not in use, I stick a bag over it. Reports suggest the tight junctions and rubber gaskets are better. The door now has a proper gasket around it at least. I know some people have had issues with water ingress the SD card slot on the Mark II. Plenty of topics about this on the web but I myself don’t leave my camera out in the wet or put it away wet. They don’t like being submerged in the ocean though I have found…
There are a few improvements I have not mentioned in the areas of video (including the movement of the video activate button and also HDR 4K movies) and also an extra custom button, to try and save this review being one you read when you want something to help you go to sleep.
As you can see if you pick isolated improvements then you will be disappointed, but as a whole this iteration of the A7R is basically a high resolution Sony A9 just with slightly reduced AF performance and FPS.
This was the body I wanted in the Mark II to be honest. I missed the AF performance of my Canon 6D when I moved to the A7R originally and stopped doing any photography with moving subjects especially with the Metabones. Until I moved away from the Metabones and invested in native lenses I was in a similar situation with the A7R Mark II.
It significantly improved AF performance. The A7R Mark III with native lenses blows my old 6D out of the water. The tracking (including eye-AF), the hit rate and accuracy is more than enough for my part-time ventures on that front. I still have the Metabones for some legacy lenses that I use on manual focus.
If you are a purist landscape photographer that does not use AF, uses a tripod and uses graduated filters the A7R Mark III will probably not appeal and quite rightly so. However if you are looking for a worthy upgrade which has dual card slots, the potential for pixel-shifting (architectural or still life), an all round camera which you can use for wildlife, action and sport, not just landscapes, and a battery life you just forget about ,like the good old days, then it’s worth serious consideration. I have no regrets and I also have had no issues lockups, firmware or usability issues at all which I find quite surprising for a newly released camera.
I have also not been paid to write this review and do so honestly and for my own interest.
Here are few examples images I have taken in the last couple of months.
The links below are to eBay items which I either have bought or will be buying shortly but they do contain affiliate links. These do help to fund running my website, thanks.
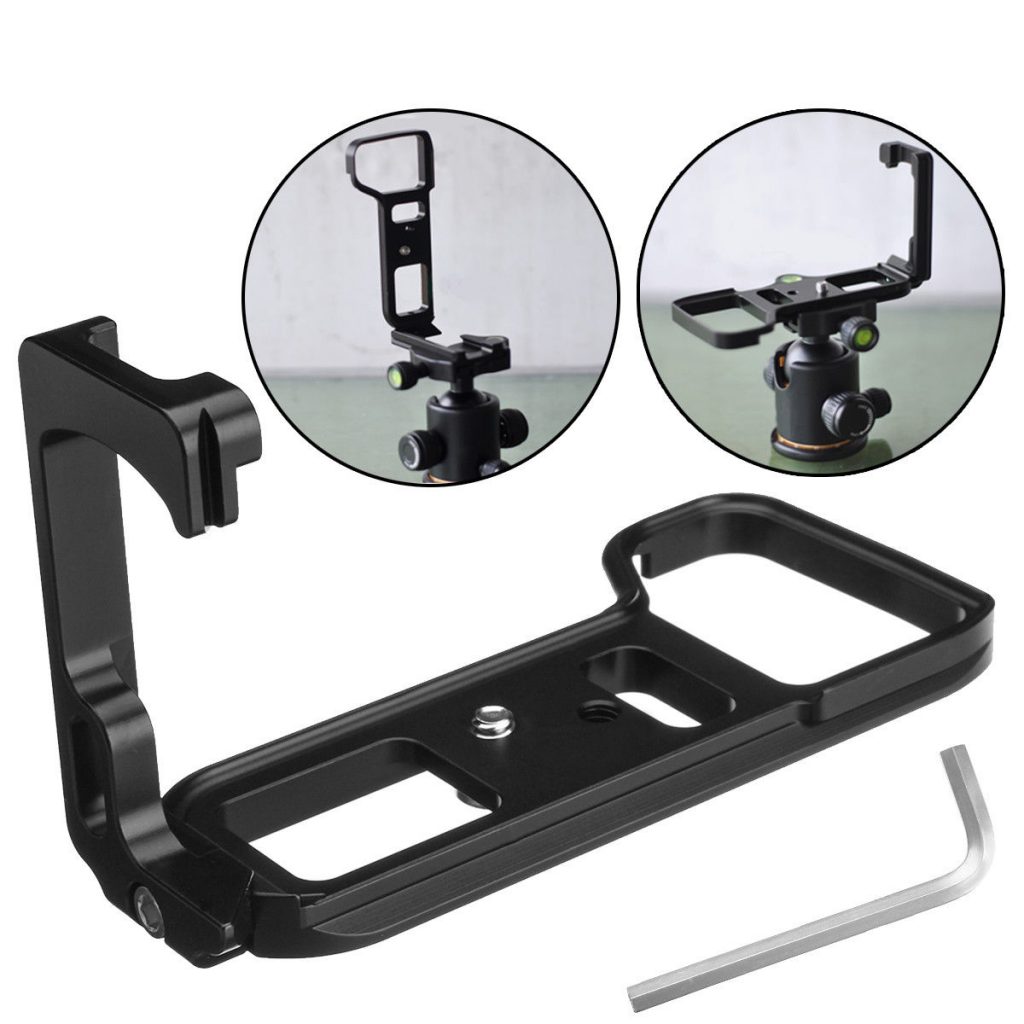
There are some expensive L-Brackets on the market but I generally grab a basic one as I did with my A7RII – and does the trick. With all fitted L-brackets I cover the base plate in gaffer tape to make sure they don’t mark it.
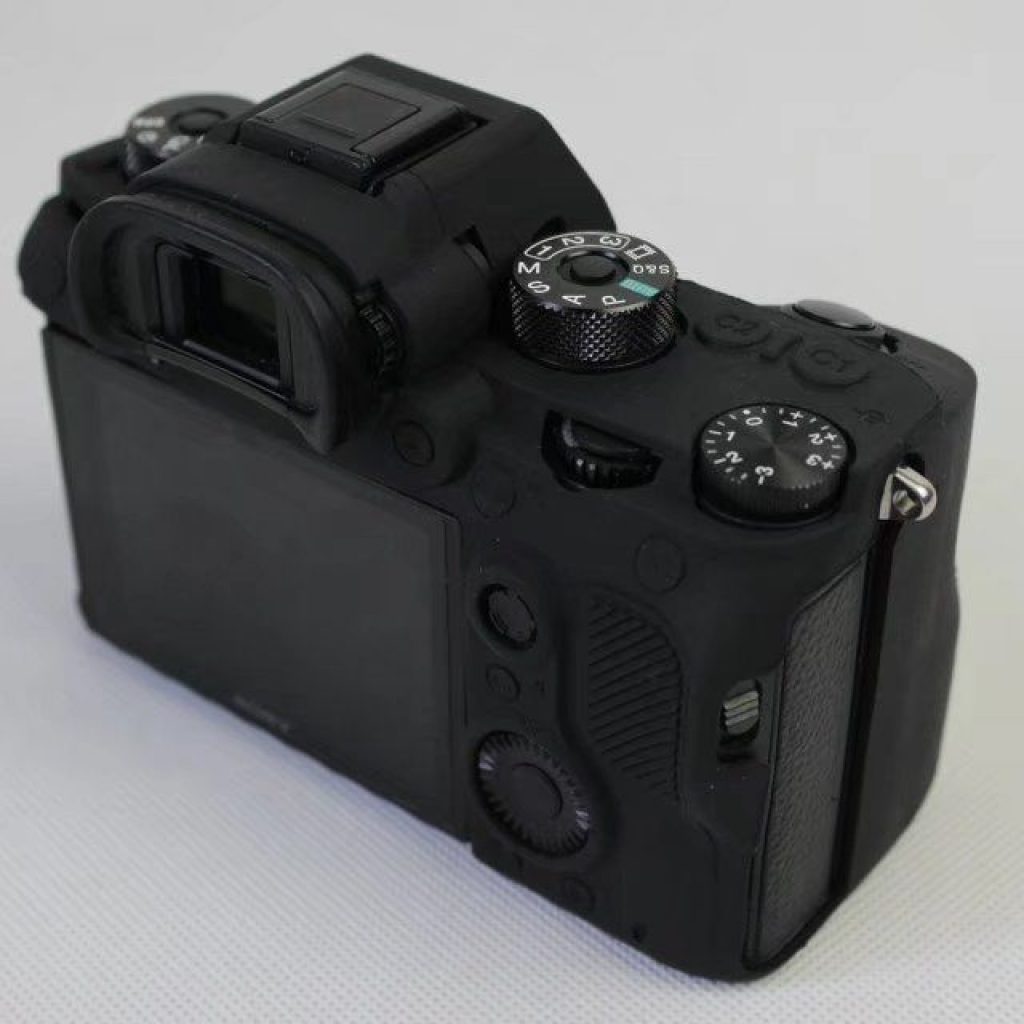
I’ve bought one of these as I’m often putting little scratches in the pain work. I’ve not received it yet but wanted to try it out for £8 from China. Cheaper than the same ones on Amazon.
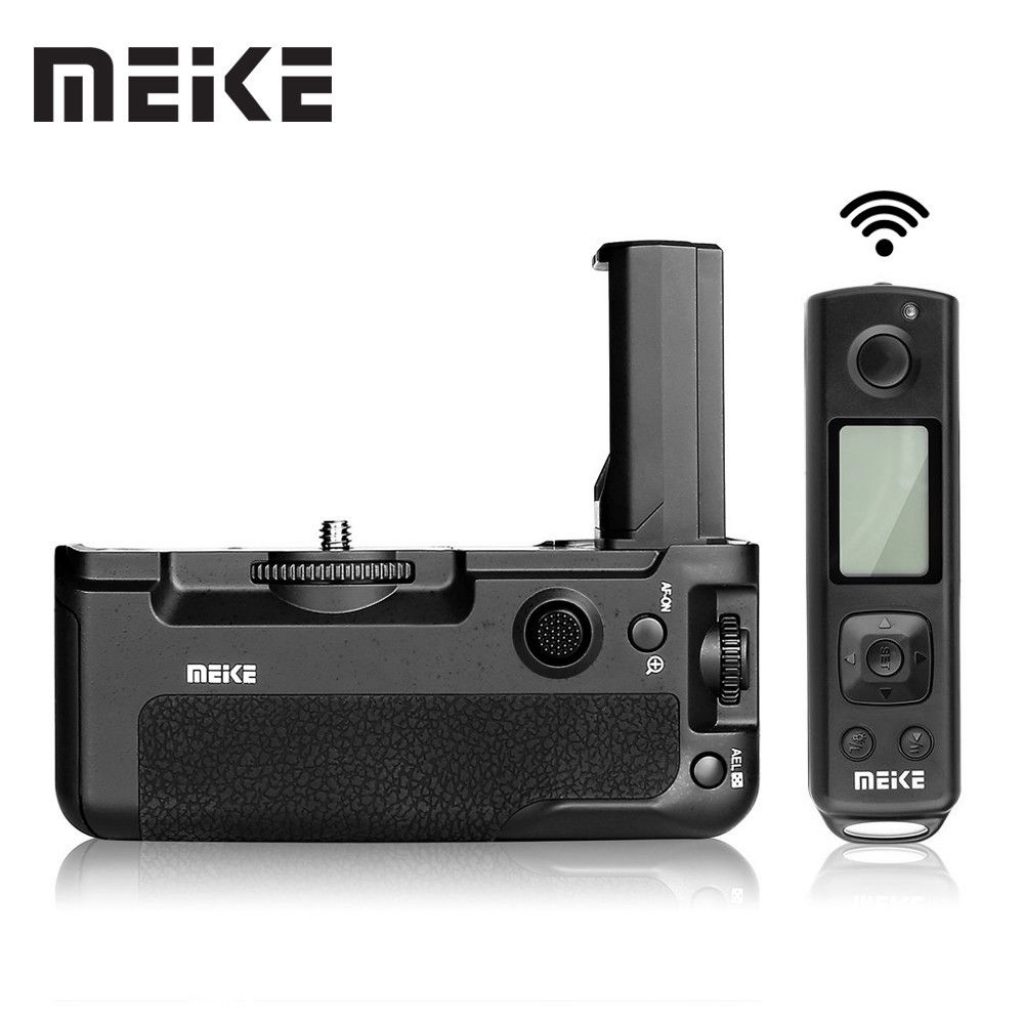
Officially I would recommend the A9 / A7RIII battery grip but the Meike copy has just been released so I thought I would include it. For those on a budget it also offers the extra radio based remote (like for the MK II) which is also an intervalometer. It provides the same user functions at the official Sony grip and combines 2 batteries in the grip. So choose which one you prefer. The Sony is likely to be more robust and reviews suggest the Sony grip has better responsive buttons and dials and does’t have the extra on off lock on the shutter which some might find cumbersome.


